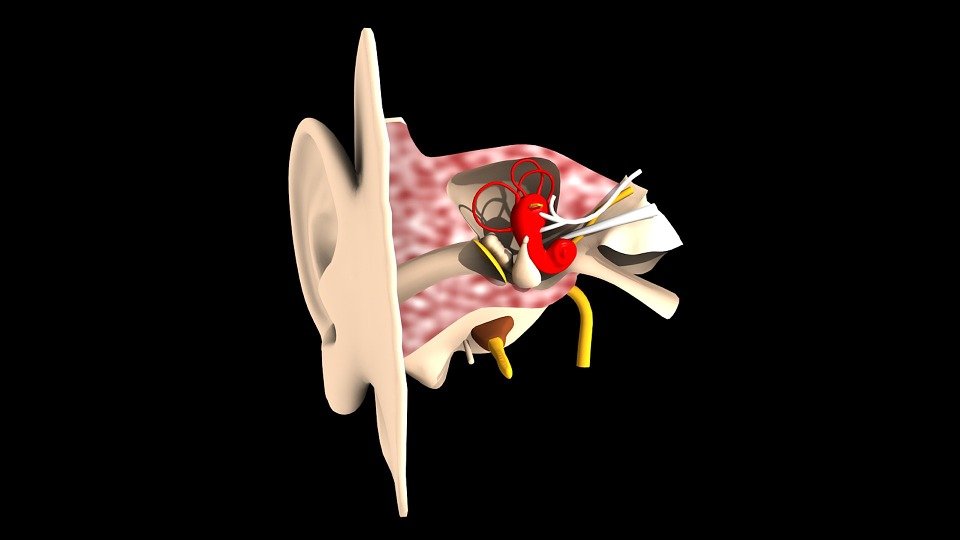
As the American Hearing Research Foundation advises, earwax is nature’s way of protecting the inner skin of your ear canal from bacteria and dirt. Your body has a simple mechanism for removing earwax by which it regularly sheds the gunk along with the dead skin cells accumulated in the canal. The amount of earwax your body produces and the kind, wet or dry, is determined by genetics. While earwax is a protective system, an excessive buildup can lead to other complications. Like, for example, dizziness, itching, bacterial infections, and even pain when the wax hardens. That’s when you may need to use other methods for removing earwax.
Take the Necessary Precautions When Using Hydrogen Peroxide for Removing Earwax
Hydrogen peroxide is a simple, effective option that can help you get rid of a mild to moderate buildup of earwax. This solution works to soften the wax so that it can be eliminated easily. However, before you use it, you might want to keep a few precautions in mind:
- Check with your doctor before you try using hydrogen peroxide at home. She might choose to examine you for any conditions or lesions because of which using the solution is not advisable. You may also want to ask about the frequency with which you can use the solution.
- Hydrogen peroxide has a bleaching effect on hair. Before you start, take care that it does not touch the hair strands or you could unknowingly, discolor them. Bind your hair back carefully and apply petroleum jelly on the strands close to the ear to protect them. Using a plastic shower cap is also a smart idea.
Follow the Steps Carefully for Removing Earwax
The items you’ll need for cleaning earwax include a bottle of 3% to 4% hydrogen peroxide solution, old towels, cotton balls, tissues, and a bowl. Here’s how to proceed:
- Measure a capful of hydrogen peroxide solution and place it close at hand.
- Lie on your side with your head on a low pillow so that it is level with the ceiling.
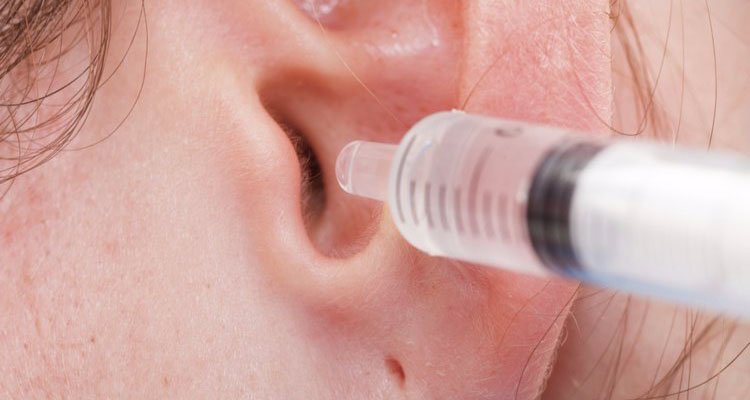
- Pour the solution into your ear and give it time to work.
- You will hear a series of popping and sizzling sounds as the solution breaks down the earwax. Some amount of itching is also normal.
- If you sense drainage, clean it off with cotton balls or tissues.
- Give the solution at least 20 minutes to work. Gradually, you’ll sense the fizz dying down.
- Once the 20 minutes are up, place the bowl close to the ear and tilt your head onto it. Alternatively, place the towel on the ear and tilt the head to collect the fluid on it.
- Dry off the area around the ear carefully. You may notice bits of earwax on the tissues or towels.
- Repeat the process for removing earwax with the other ear.
- If you think you cannot do this on your own, enlist the help of a family member or friend.
You May Need to Take a Few Aftercare Precautions
Here are some additional aftercare factors to keep in mind:
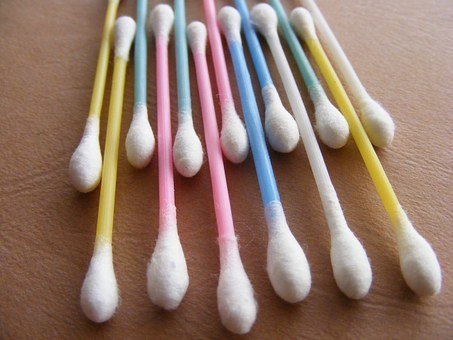
- Never use cotton swabs, Q-tips, hairpins, or your fingers for cleaning earwax. You might inadvertently introduce bacteria into the ear canal and cause infections.
- Never dip towels, cotton swabs, or tissues into the bottle of hydrogen peroxide. Instead, pour out a small amount into a bowl and then use it. Any accidental contamination can cause the solution to lose its effectiveness.
- Use this option for removing earwax only under the direction of your medical practitioner. In case you sense any pain, discomfort, or itching, consult your doctor right away.
- Using hydrogen peroxide too frequently can result in dryness in the inner ear canal. Be cautious on how often you use the solution.
- If you cannot seem to get rid of the earwax even after trying this option, your doctor might suggest flushing out the ear with warm water. However, it is advisable that you allow her to help you. Excessive pressure could damage the eardrum.
Removing earwax using hydrogen peroxide is a safe and effective option. You can easily try it at home and get rid of mild wax. For a more severe problem, make sure to follow the recommendations of an expert.


